Colourful Coasters & New Tools
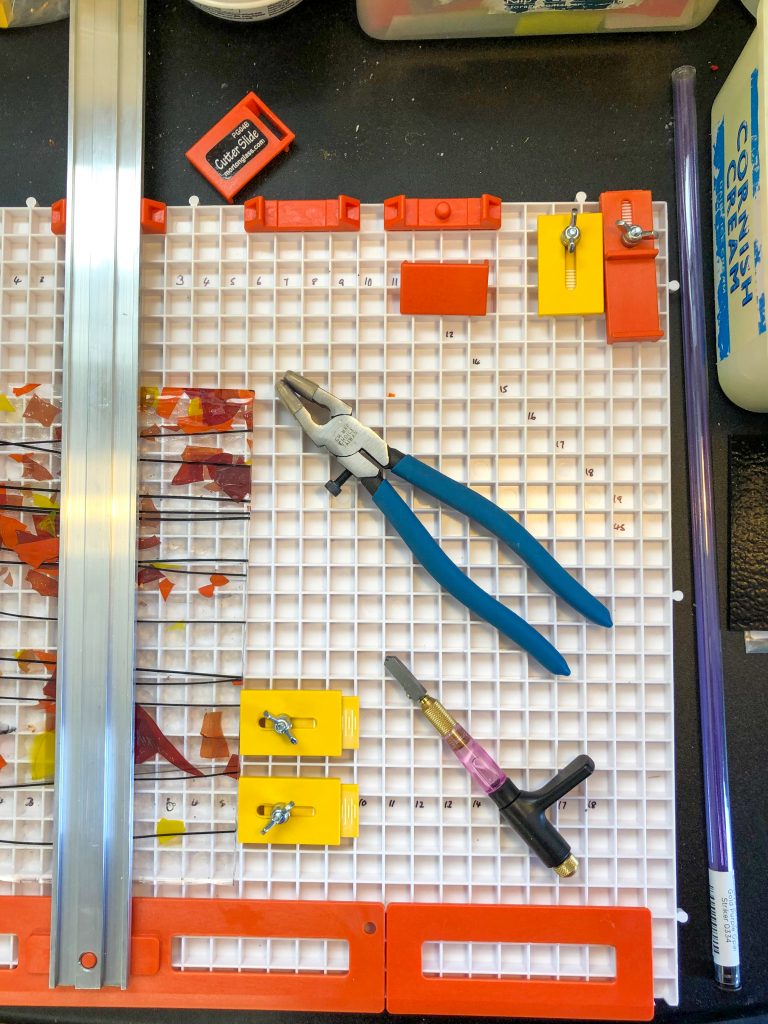
I’ve treated myself to a new Morton cutting board and tools this week, using the money from some recent sales, especially my little Christmas trees. The Morton tools will help me to cut circles, and to make shapes, such as triangles and squares, faster and more evenly. I was really excited to give them a go and, by chance, a commissioned project provided the perfect opportunity.
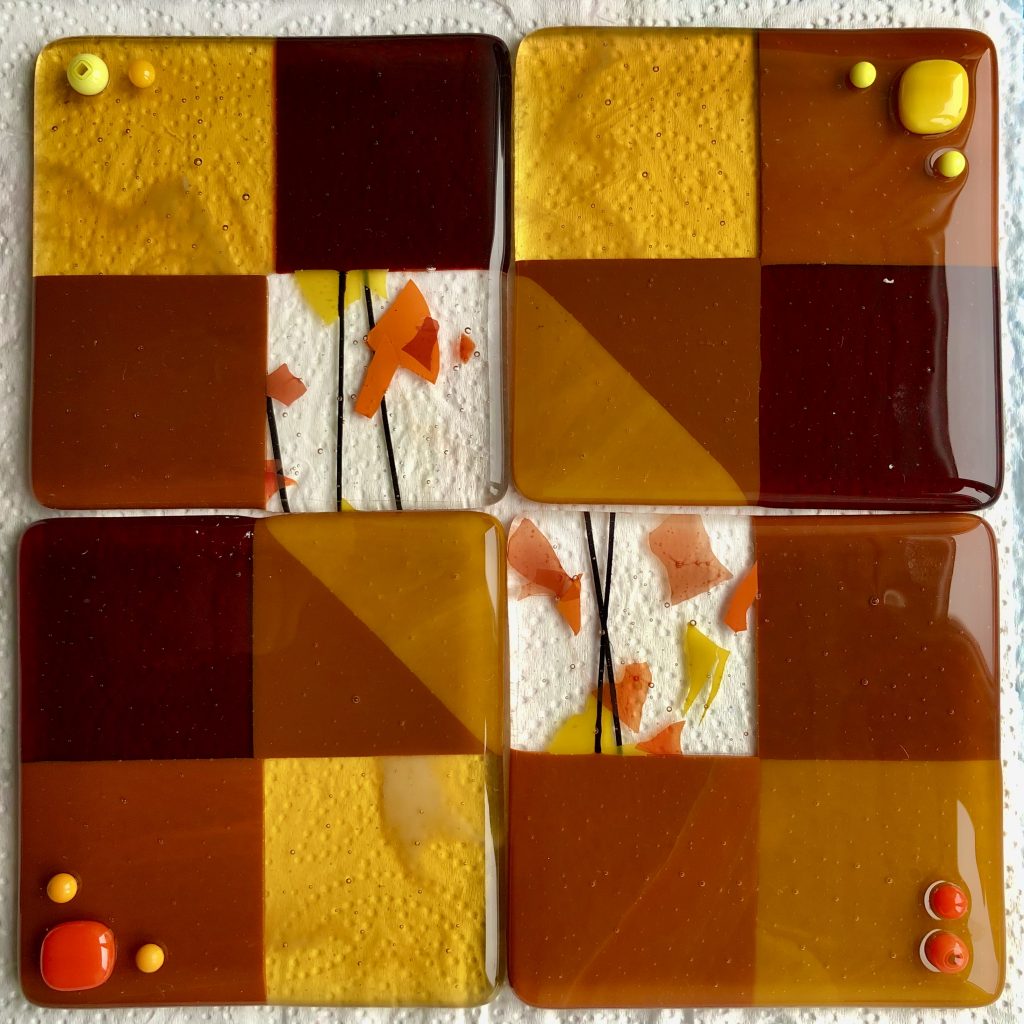
A while back, I made some purple coasters for my friend to match her decor. Her mum loves them so my friend asked me to make some for her as a Christmas gift. We had a chat and decided on some warm oranges, yellows and browns.
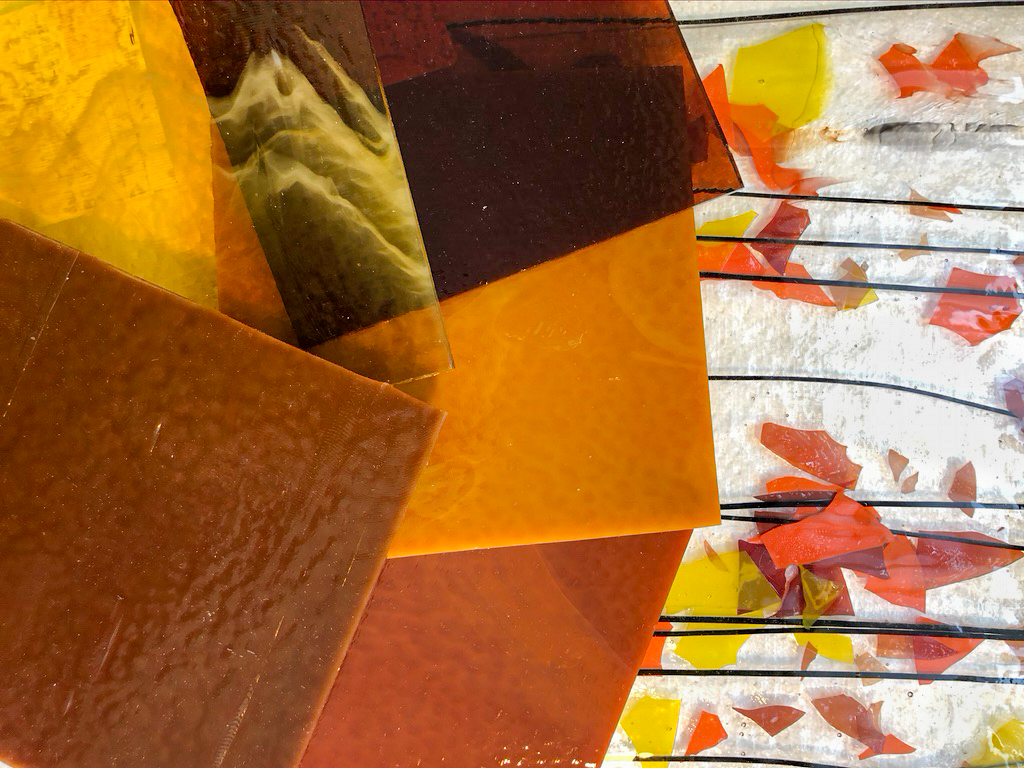
The glass arrived at the same time as the Morton tools, and I immediately set everything up on my work bench. The instructions were quite complicated but, with the help of an online video, I got there in the end. Once I’d got my head around it, cutting lots of evenly sized squares and triangles was easier than before.
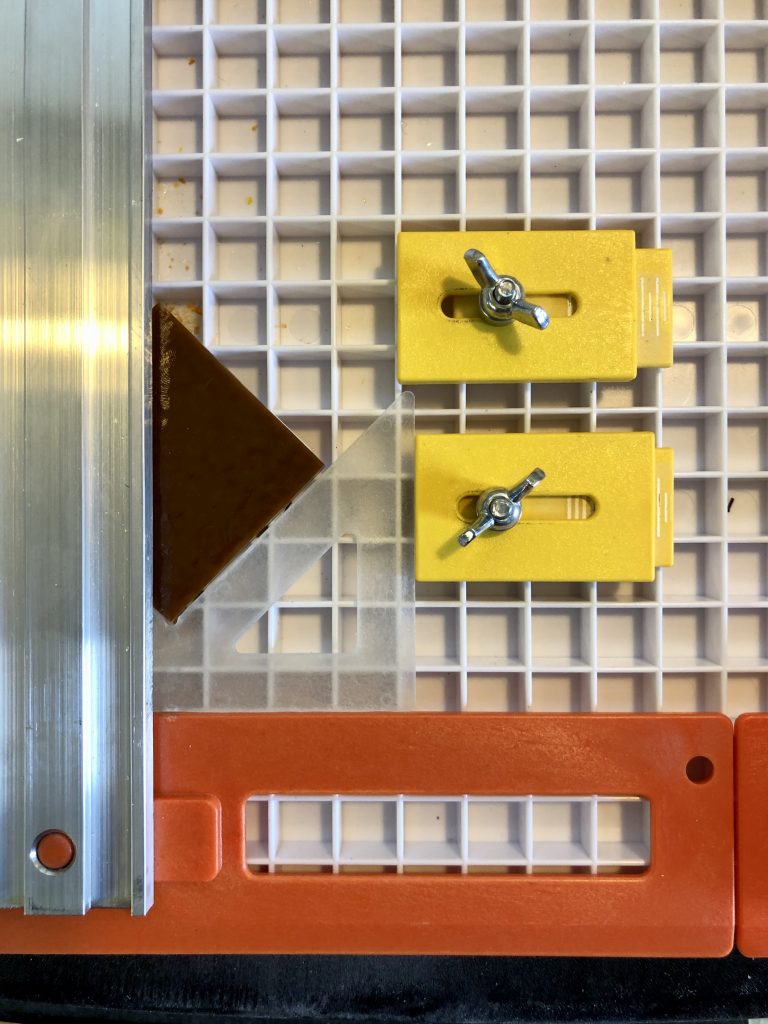
Rather than measuring each piece individually, now I can simply line up the stops on the cutting board and cut lots of pieces of glass, one after the other.
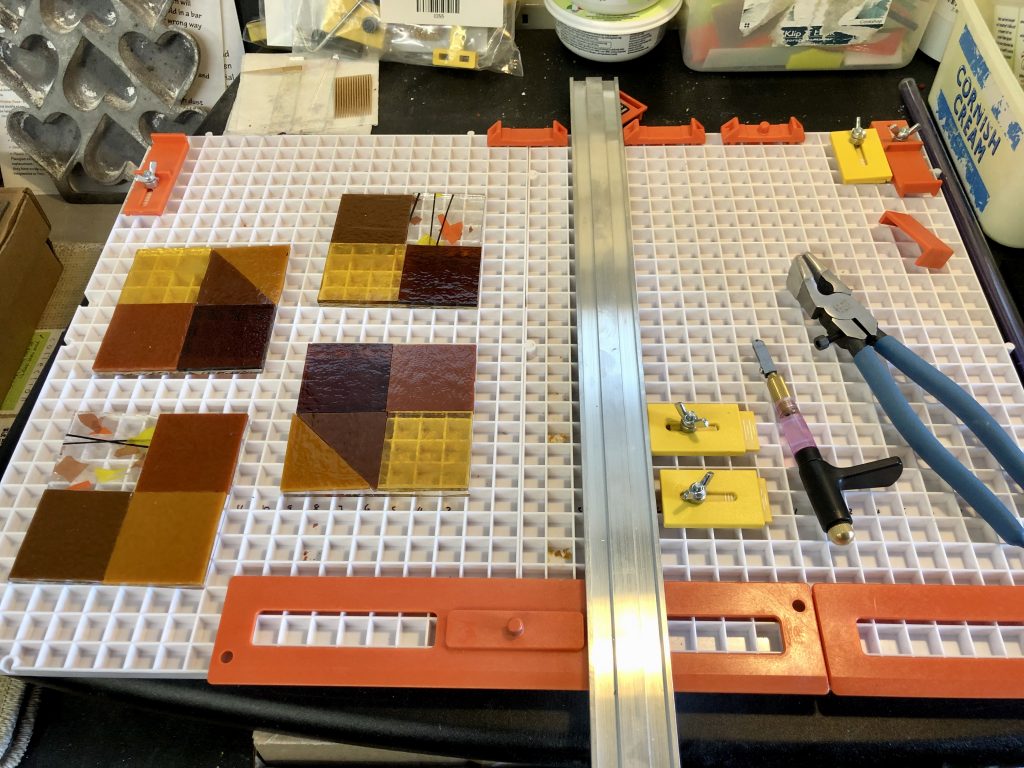
For each coaster, I cut 4 squares of different coloured 3mm glass. For two of the coasters I used pretty confetti glass, with sprinklings of orange and yellow. For the other two, I cut a square into triangles and swapped the colours over. Then then I cut a larger square of clear 3mm glass to put on top of the smaller squares. This makes the coasters 6mm thick, which is the necessary for them to keep their shape… any thicker and they spread… any thinner and they contract. The clear glass also helps keep the smaller squares tightly together, avoiding any gaps forming between them, and gives the coasters a glossy finish.
The coasters were then fired in the kiln on Thinfire paper to stop them sticking to the kiln shelf. I used a full fuse programme to make the edges smooth and curved. With the various stages of heating up and cooling down, the glass tends to be in the kiln for 24 hours.
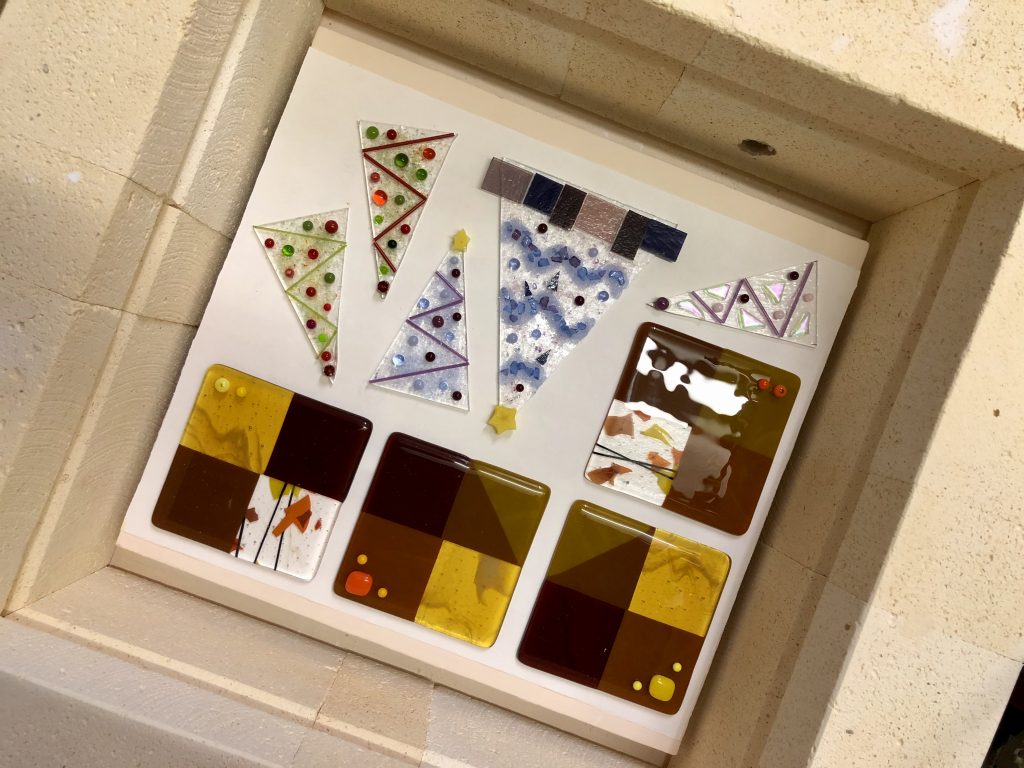
After the first fuse, I added some small pre-fused squares and spots to add some interest and texture before putting the coasters into the kiln for a second time. This time I used a tack fuse so that the dots would stick to the coasters but remain raised. I think they came out really well, and hope my friend’s mum loves them
